


Quarantine Renovation: Building a Farmhouse Table
Posted April 17, 2020 by Prairie Wife - 2 comments
![]()
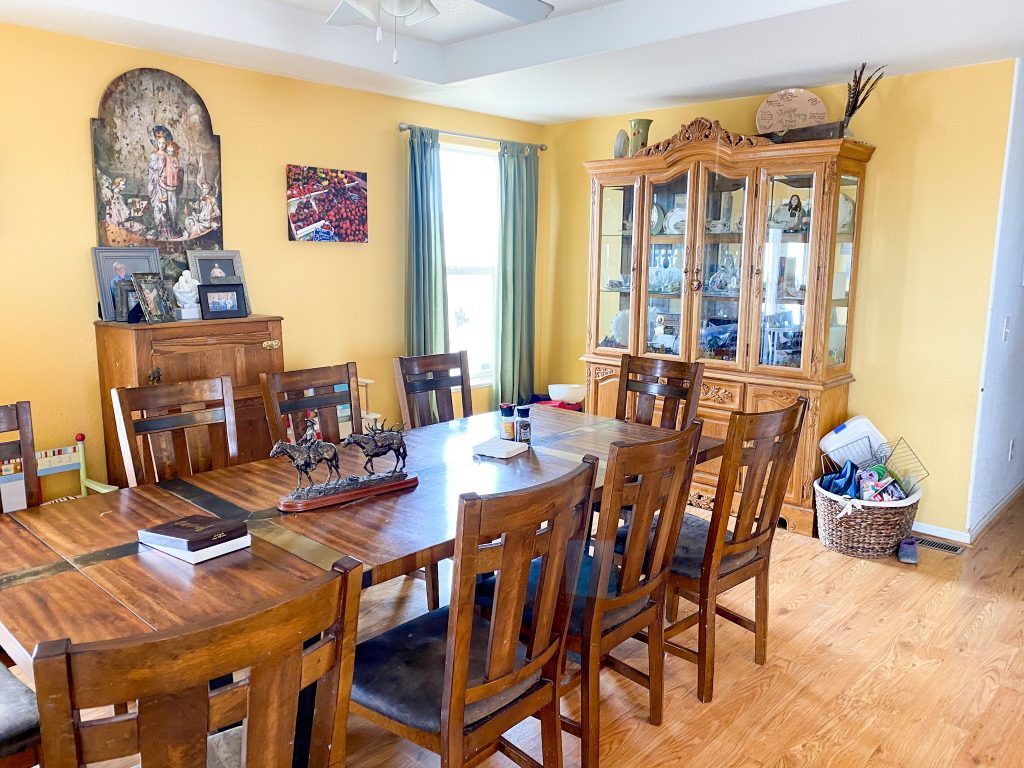
My design esthetic is decidedly Farmhouse, and I’ve always dreamed of having a large Farmhouse Table.
The Cowboy and I have lived in this five bedroom, three bathroom, 3,000 square foot home for 12 years now, and as the years tick by, we’ve made a few changes.
From painting the kitchen cabinets to redoing our master bedroom and bath, we are no strangers to the DIY life.
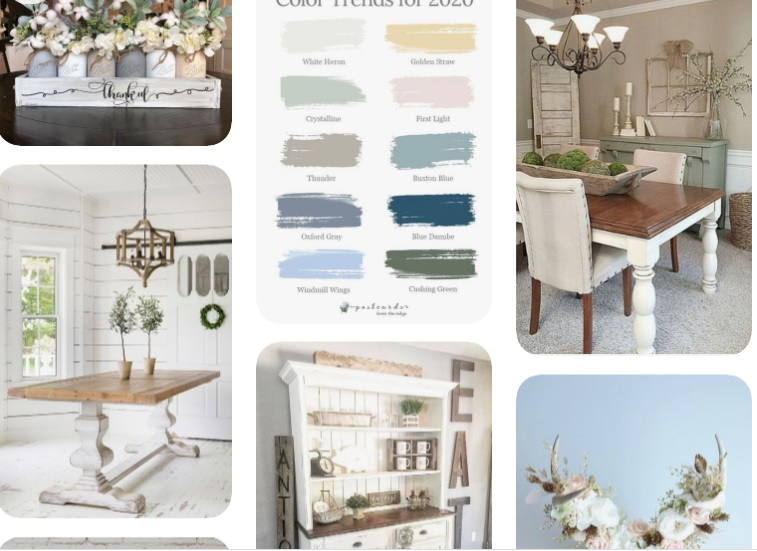
As I sat staring at our dining room and adding to my “For the Homestead” Pinterest Board a few weeks ago, I began to dream aloud about “someday” how I’d like to make changes.
The Cowboy must have been equally bored because he asked to see what I was looking at.
He took a look at the pictures and said: “I can make that Farmhouse Table.”
If you have seen the other projects The Cowboy has done, you know this is true. It’s more of a question of time and if he WANTS to.
Well, he said he did actually WANT to, and Lord knows we have plenty of time with this quarantine, so…we did it.
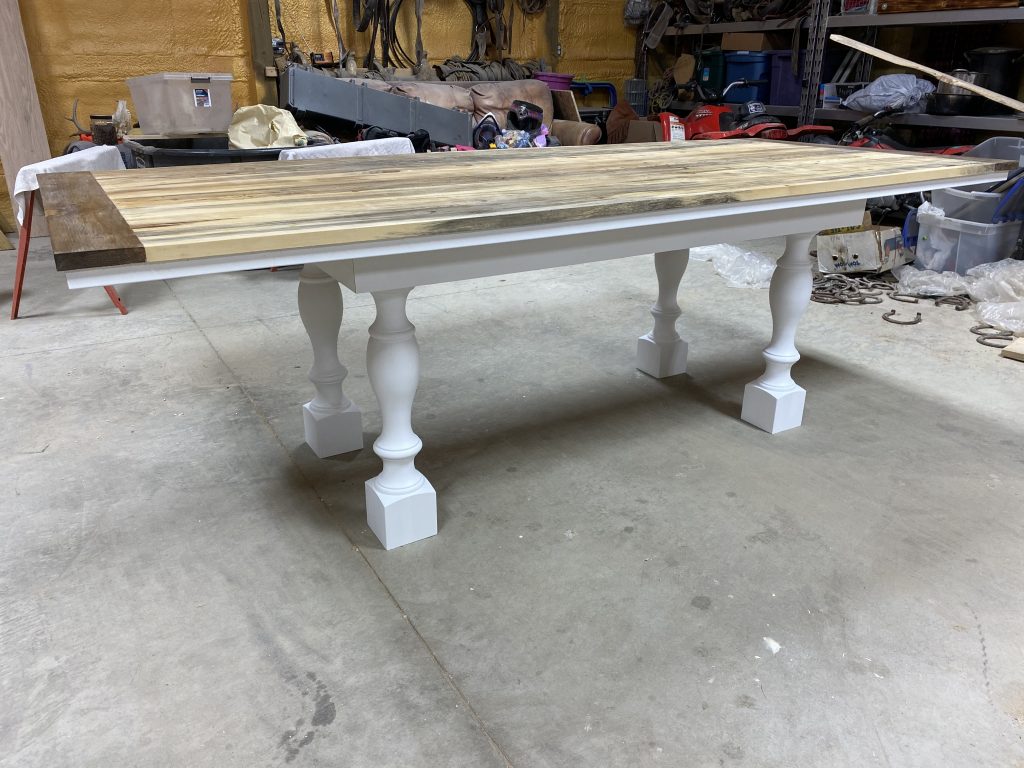
We made a Farmhouse Table that seats 10 for around $500.
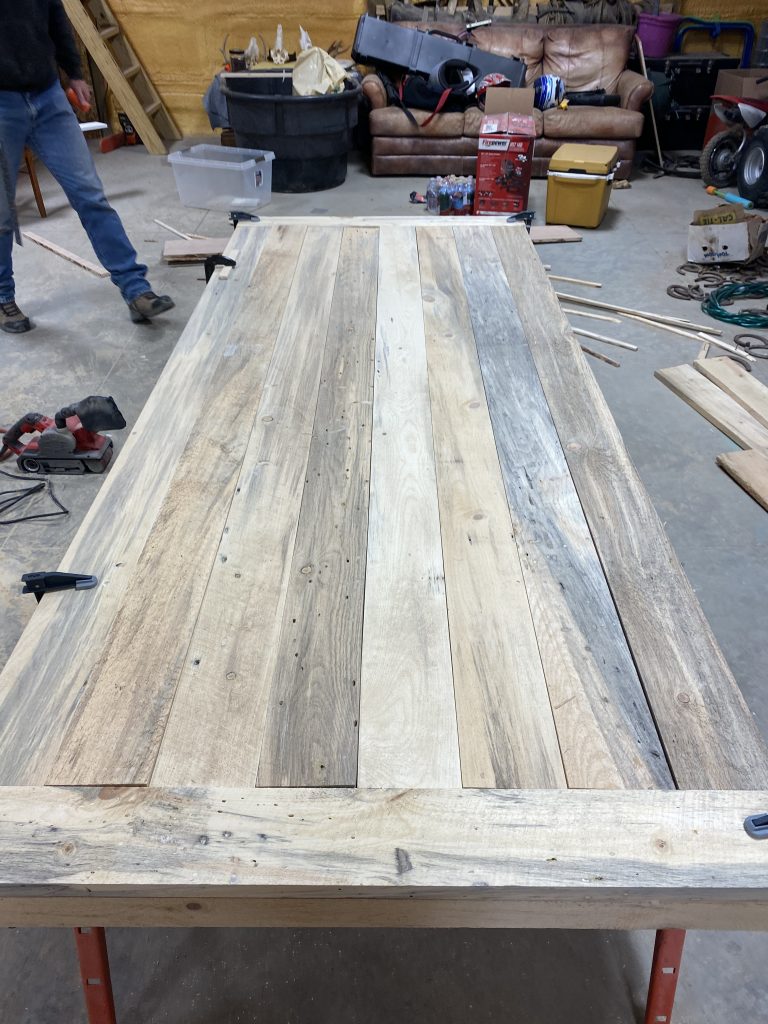
First, we went to our local sawmill and picked up rough-hewn Pine planks for $60.
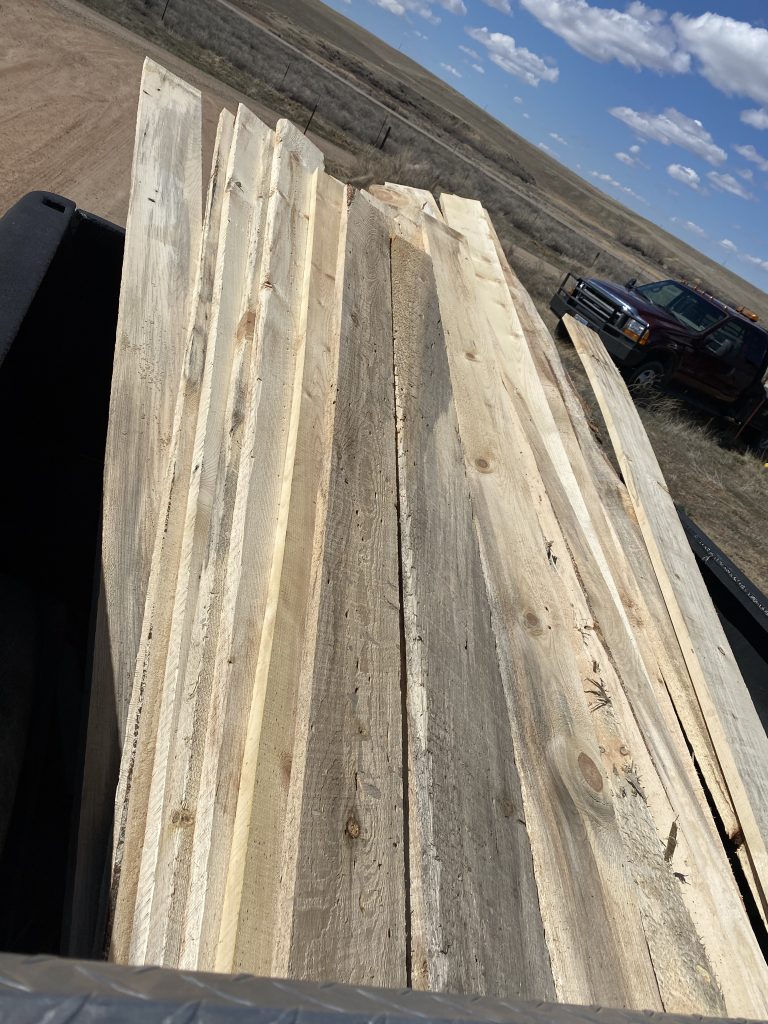
We picked out the planks that we thought would look the best together, cut and sanded them, and then fastened them to a large board cut to the width and length we wanted (8′ long and 40″ wide).
Then we used a Varathane Wood Conditioner. The plan was to leave some natural, and then stain a few boards dark mahogany and a few boards gray. We have a mixture of wood furniture in our home, and I wanted it to all coordinate. But then, we saw what it looked like when we put the wood conditioner on.

We couldn’t believe how the Wood Conditioner brought out the grain and tones of the wood. So, we decided to leave it alone in the center, and just stain the end caps dark. There was one board that didn’t seem to have as much color, so we delicately used dark stain to copy a natural grain to make it blend in better.
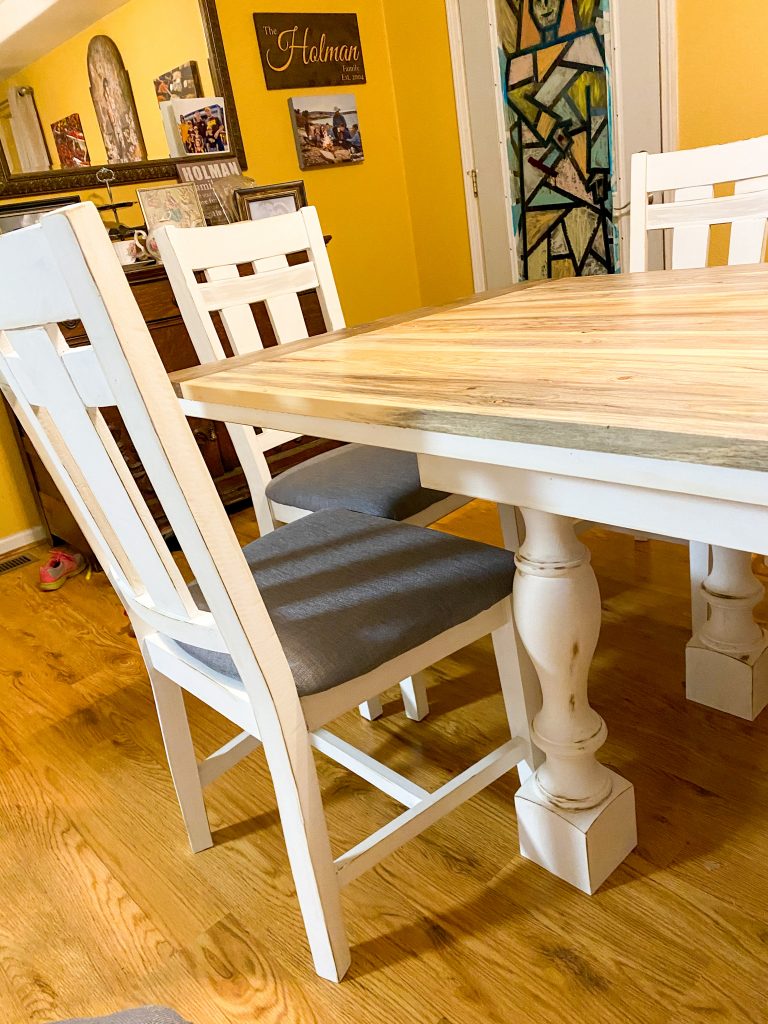
Then we coated the top with three layers (yes three) of Varathane Polyurethane. We wanted to make sure the table could withstand the mess and use that we knew it would be getting from the 5 Cowkids.
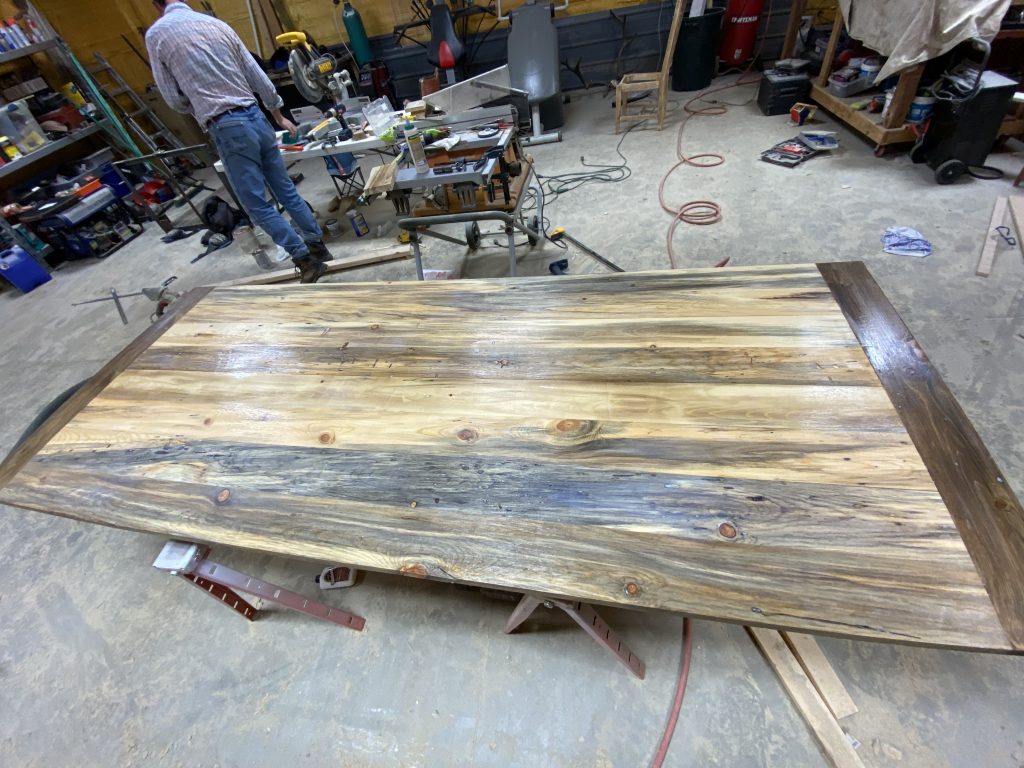
Isn’t it beautiful?
Next up was finishing the base and adding the legs.
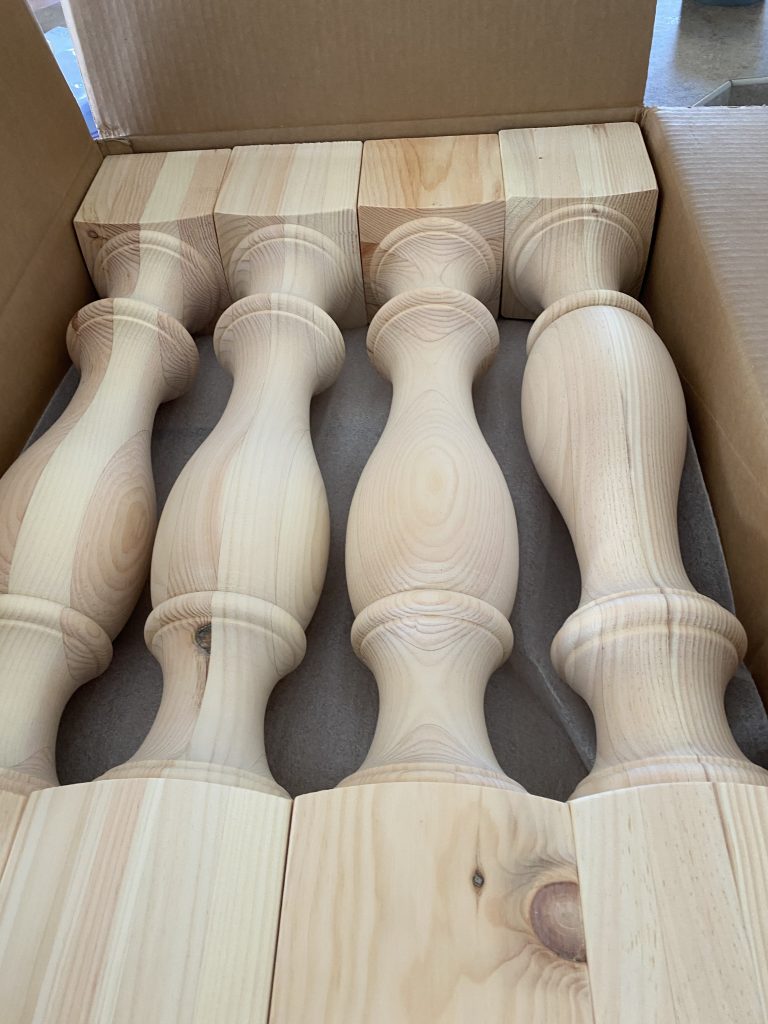
We knew from the start that we didn’t have the right tools to create the chunky farmhouse table legs I wanted, so we ordered a set of four unfinished pine legs from Design59Furniture on Etsy.
The legs turned out to be the most expensive part of the process ($169.95) but it was definitely worth it to get sturdy well-made legs that could handle the weight of the tabletop.
We prettied up the base of the table and securely fasted the legs.
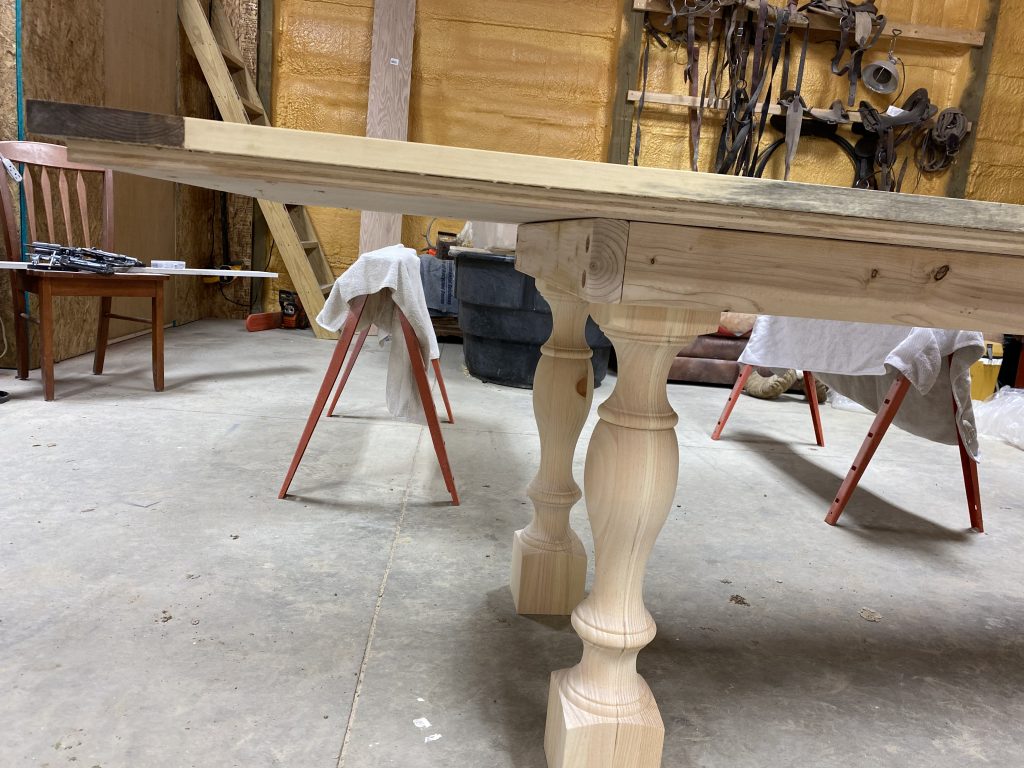
The next step was painting the legs and base.
Finally, I went ahead and distressed the legs and base to give it the Farmhouse/French Country/Shabby Chic look I love.
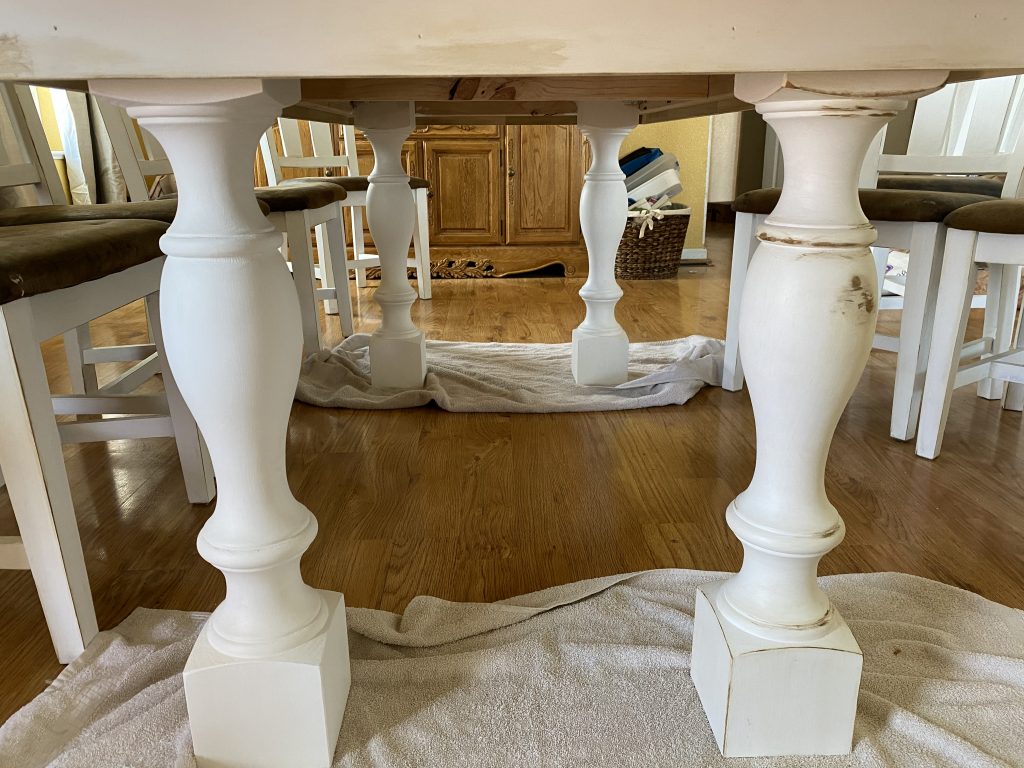
You can see here the difference between a leg that was painted (left) and the leg that has been distressed (right).
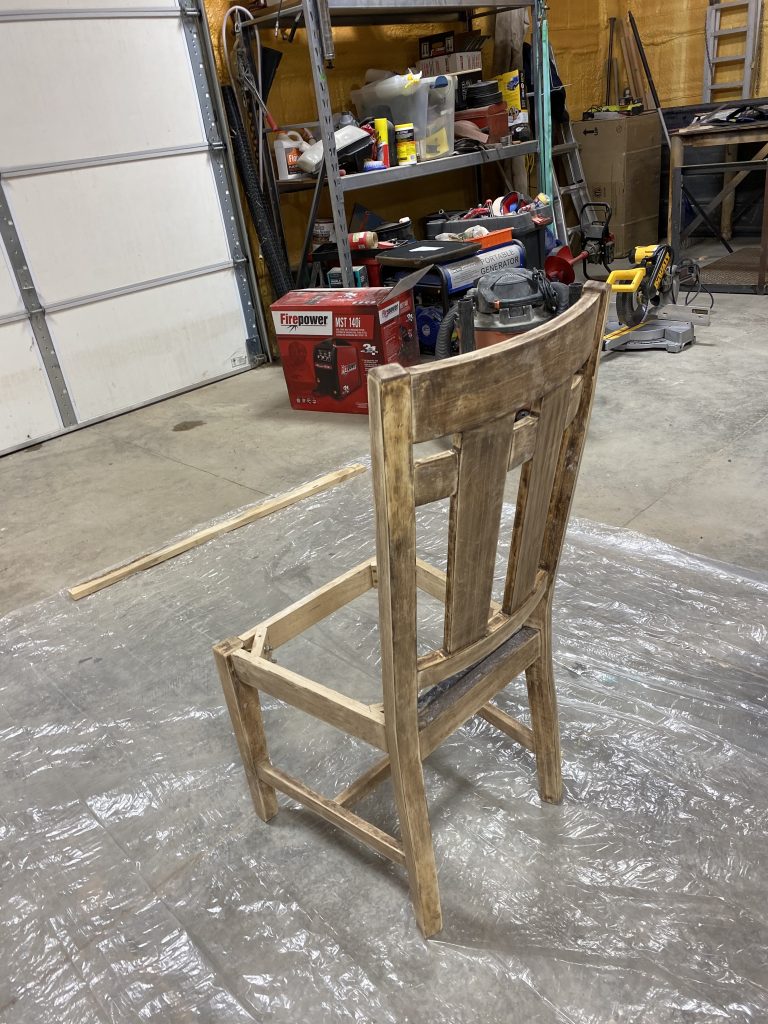
We looked at replacing our ten chairs, but the lowest price I could find for chairs that would match our look was around $60 per chair.
So, we decided to refinish the ones we had, including getting new fabric for the seats.
We stripped and sanded them.
Painted them to match the table.
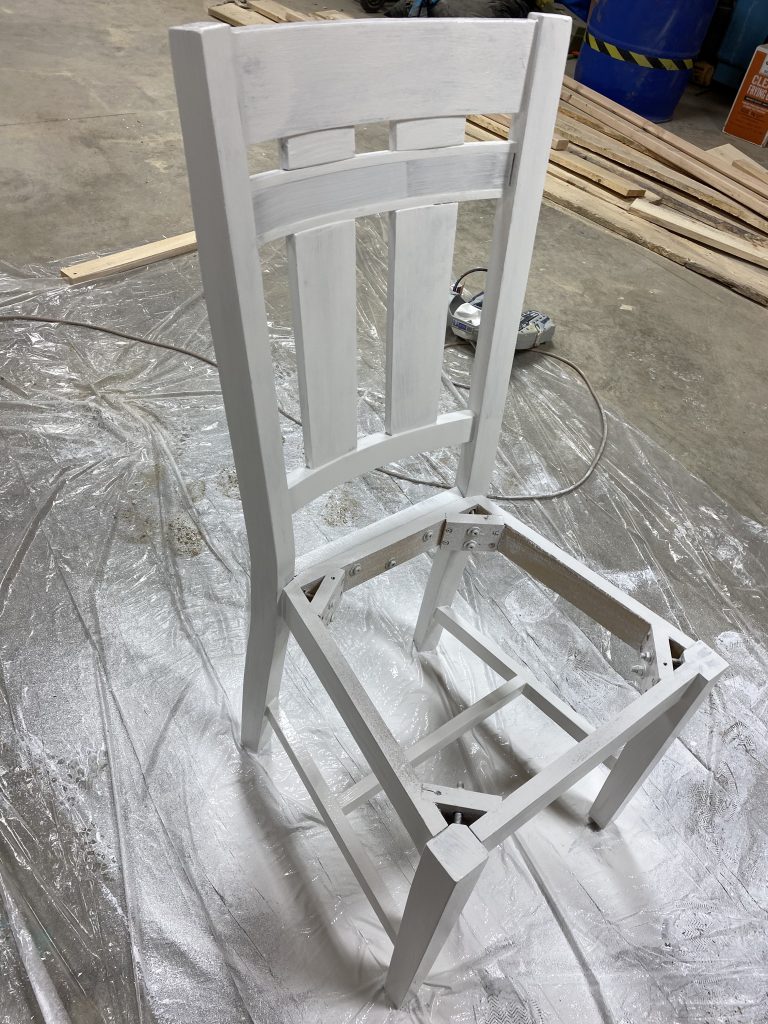
Next up, I distressed the chairs covered the seats with a gray fabric. I went with an outdoor textured fabric (cost $116.oo) that is technically made for patio furniture. With the 5 Cowkids, I wanted something that would wear well and be easy to clean!
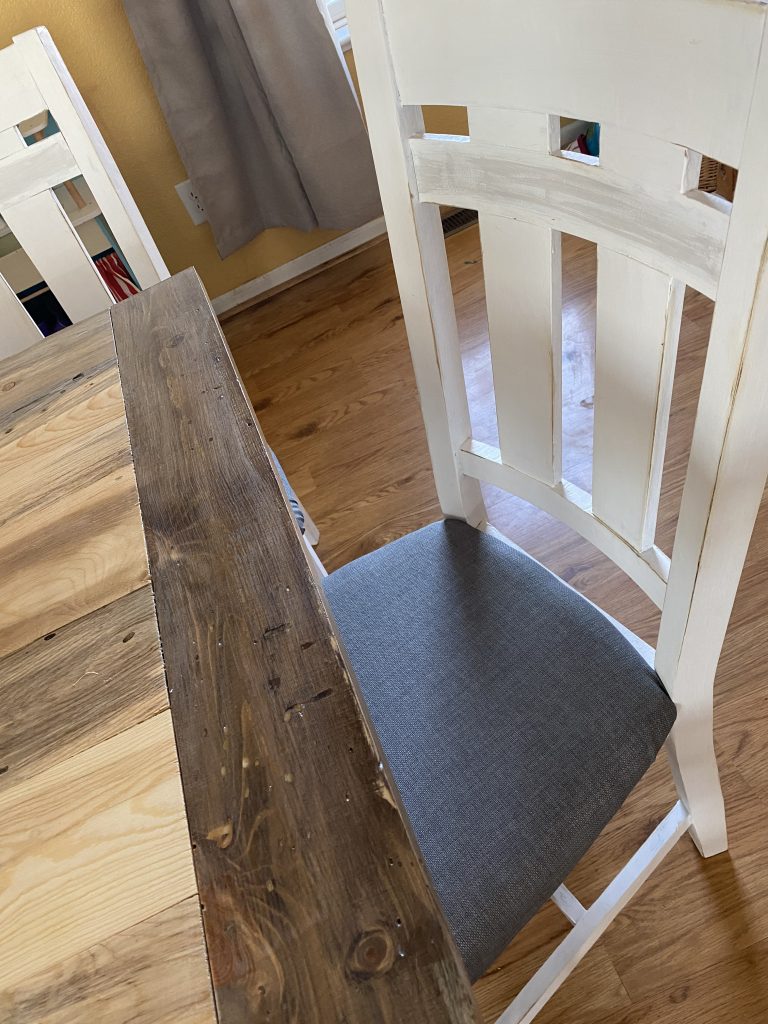
I dry brushed a bit of gray color to the crosspiece of each chair to help tie everything in.
And…yahoo!
After three weeks of hard work, we were done with our Farmhouse Table.
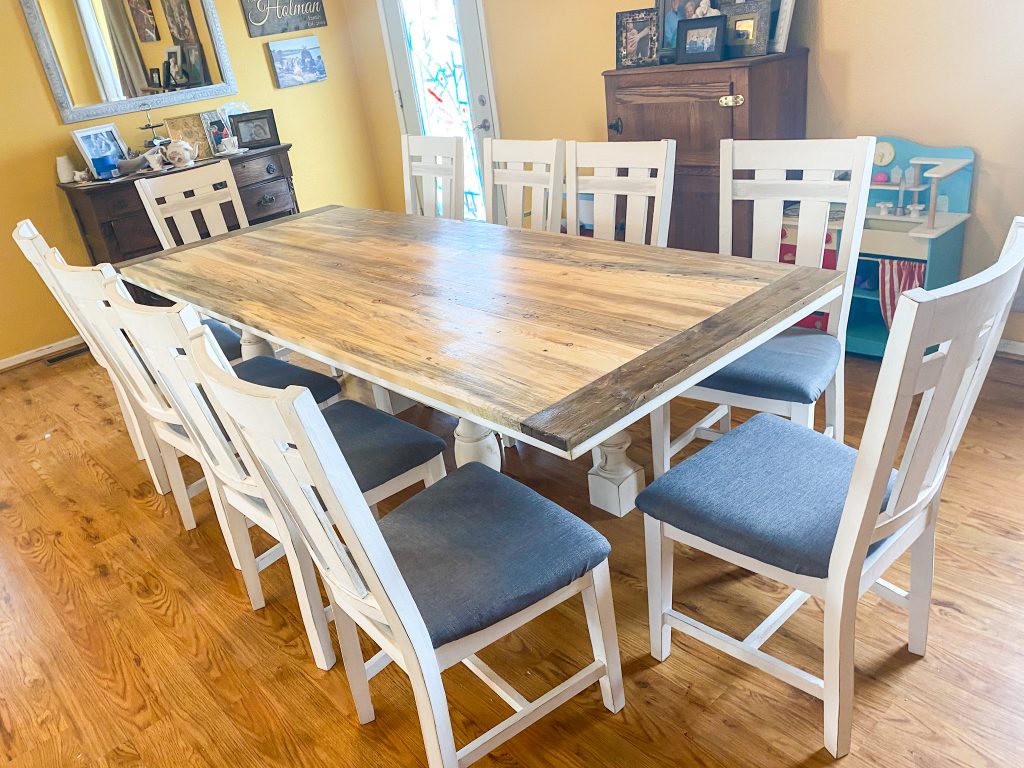
It makes me happy every time I look at it!
This is part 1 of a 4 part renovation/home edit that we are working on.
We have plans for making other changes in the dining room and the sitting area attached to our kitchen to help it all flow a bit more and go with the Farmhouse/French Country/Shabby Chic vibe I love so much.
So, keep your eyes open for more changes on social media and here on the blog.
Is anyone else using all this time at home for DIY projects?
I’d love to hear what you’re up to if you are, so let me know in the comments and tag us in your pictures.
PS: I had several readers ask me to share with them how I created the distressed look on the furniture. So, here is a down and dirty “just the facts ma’am” video showing what I do.
Leave a Comment
2 thoughts on "Quarantine Renovation: Building a Farmhouse Table"
Categories: The Prairie Homestead, This and That
Tags: , dinning room renovation, dinning room table, DIY, DIY projects, famhouse table, french country decor, home rennovations
Previous Post « Garlic, Onion and Parmesan Rolls
Next Post Some Book Suggestions To Help You Through The Quarantine »

It looks amazing!!
Thank you!