


Master Bathroom Facelift For Less Than $200
Posted January 21, 2020 by Prairie Wife - 5 comments
There is something about Winter in Wyoming that gives me the remodeling bug.
The poor Cowboy can see it coming a mile away but has completely given up trying to fight me.
Maybe it’s all the hours cooped up inside with HGTV playing in the background?
This time it was our master bedroom and bathroom that needed a facelift.
We’ve lived in this home for almost 12 years and while I painted our bedroom furniture last year and picked out a few new decor items, we hadn’t made any REAL changes at that time.
The bedroom pics will be coming to you Friday. The truth is, it is currently covered in laundry waiting to be put away 😉 so I need to clean up a bit before it’s photo-ready!
After we finished the bedroom I decided that our bathroom needed a bit of a facelift.
Nothing major, but it no longer went well with our new bedroom.
I am the worst ever at diving into a project and not taking before pics, and please give me some grace as I am NOT a wonderful photographer.
The biggest change was the cabinets.
They were originally a cheap light oak color…you know what I mean right?
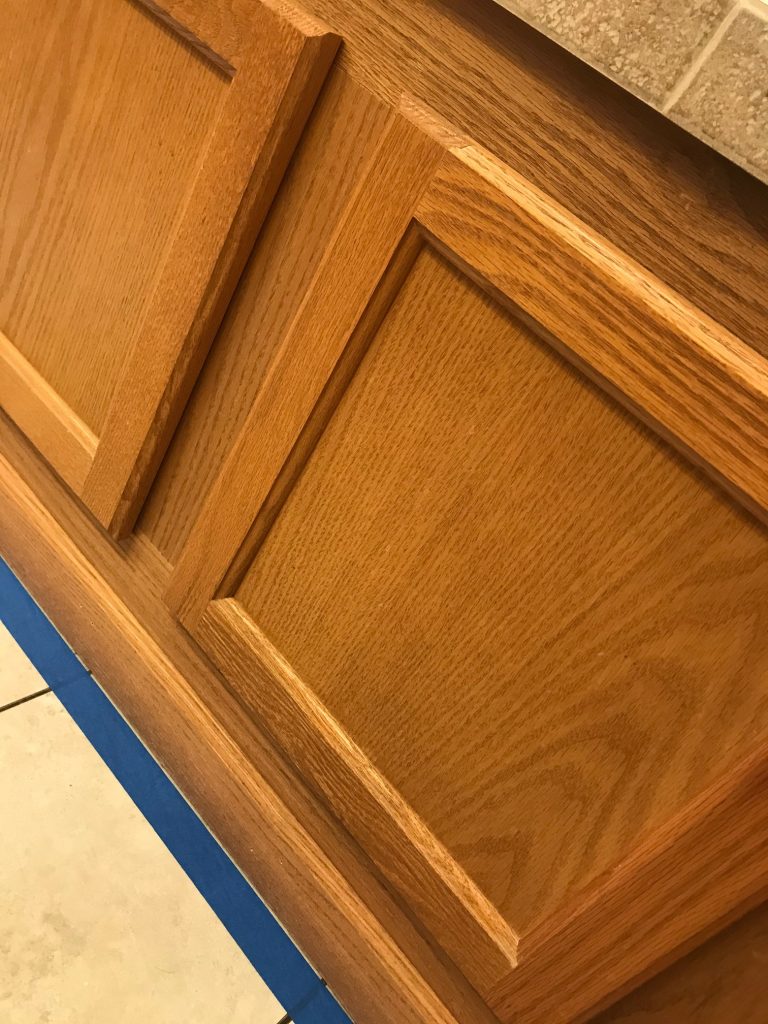
I wanted to have a darker stain but wasn’t super excited to do anything that took a lot of time and effort.
I did some reading on Pinterest and learned about wax stain. It seemed fairly easy to use, especially after watching a few YouTube videos.
All you do it put wax on a special brush and “paint” it on to the wood. No need to sand and buffing with a rag afterward is optional.
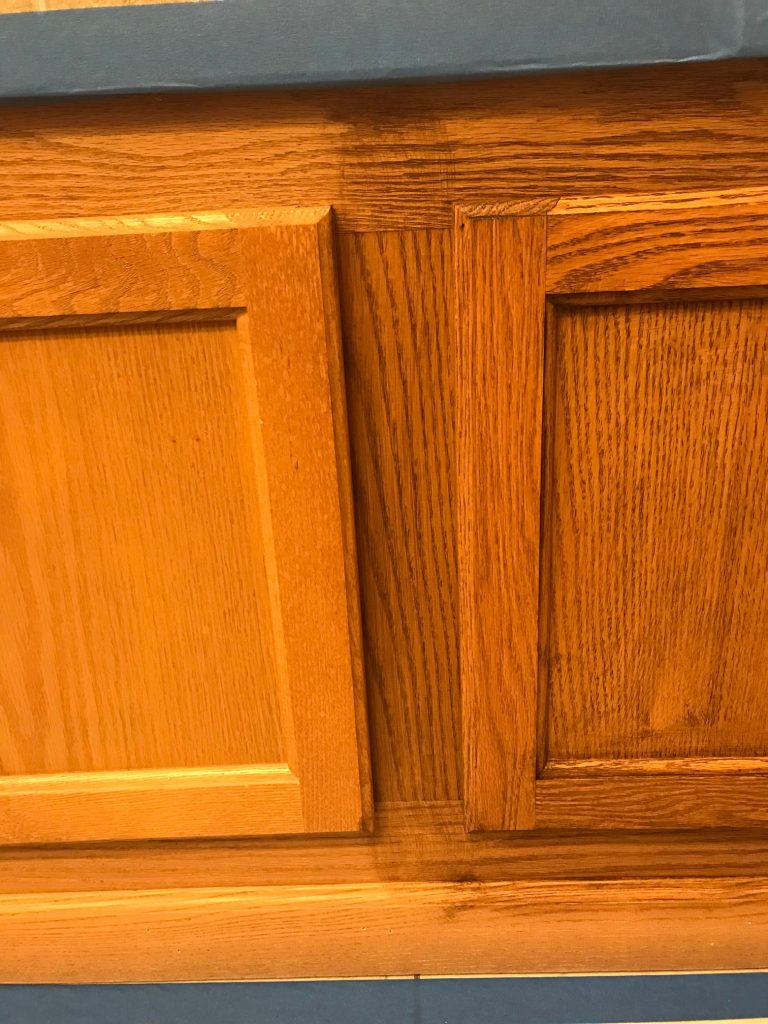
This is what it looks like after one coat.
I went on and did two more coats (for a total of three) which took me ar0und 2.5 hours start to finish. I didn’t really have a need to let it dry between coats. By the time I worked my way around it was good to go.
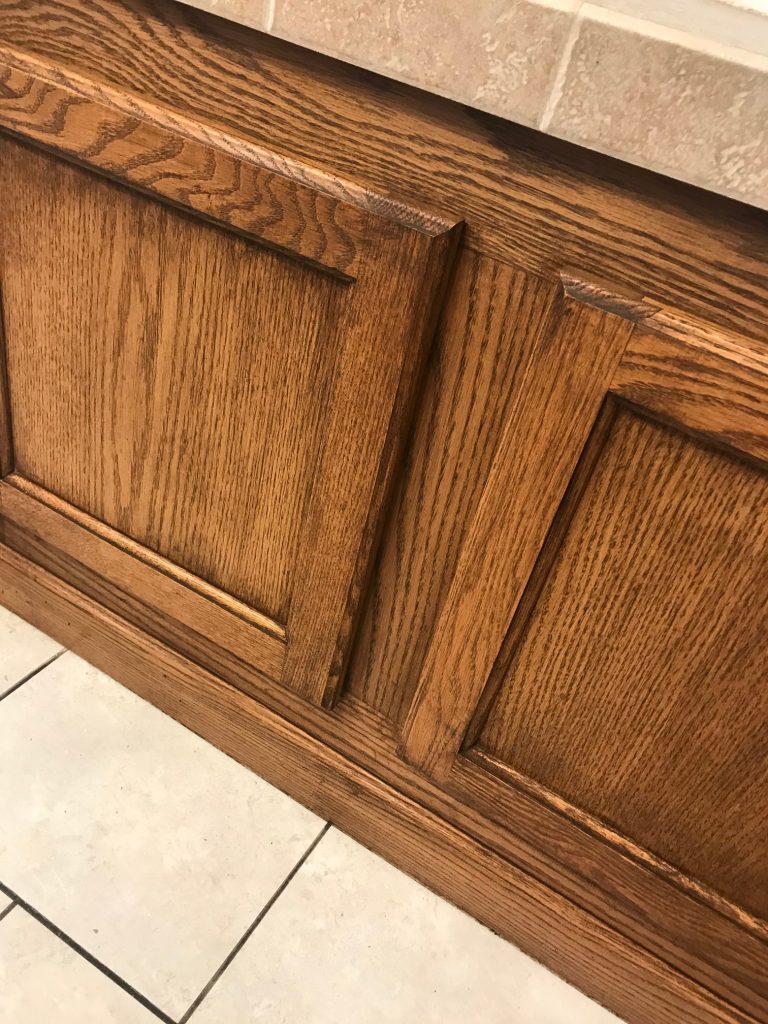
The end product was a rich deep color that allowed the grain to really show through.
Doesn’t it look way more swanky than the original wood?!
I kept the light cream paint in the bathroom the same but added new wall decor, rugs and a few pops of fun color with green succulents.
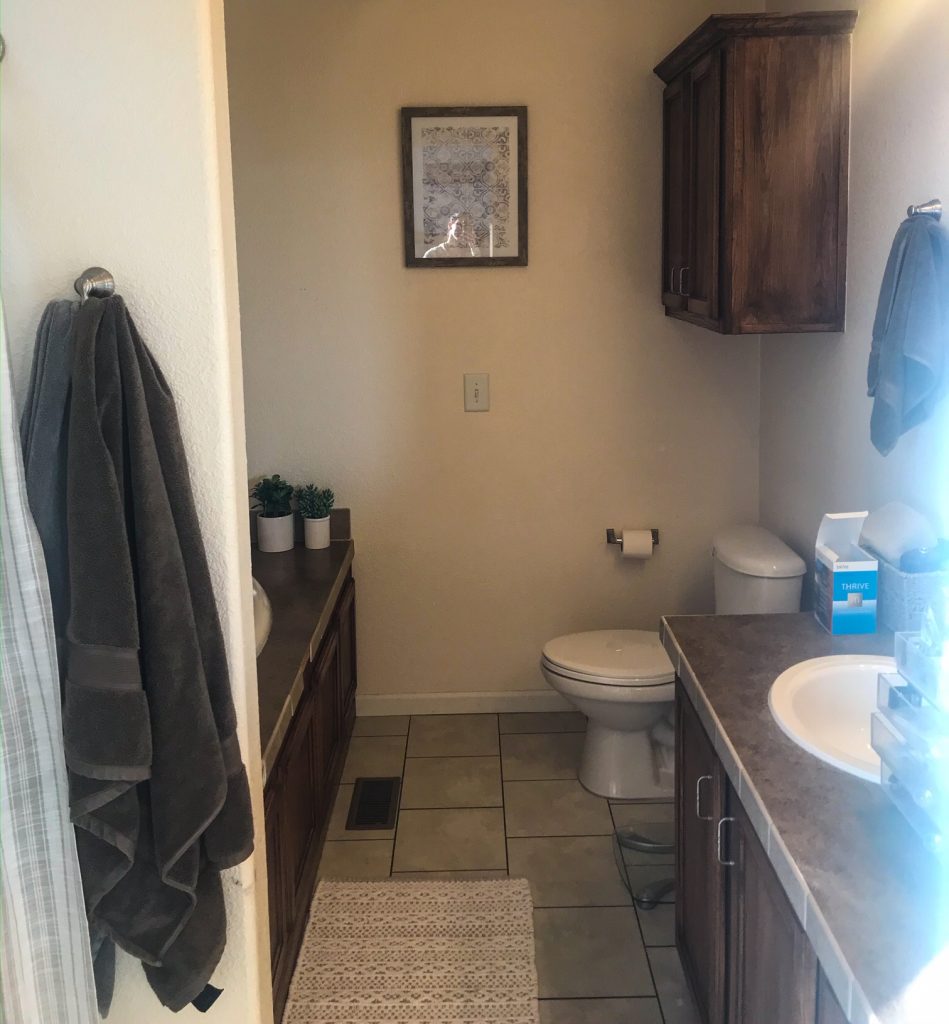
For our bathtub area, I cleared out the clutter and candles that were coated in dust and just kept it simple and spa-like.
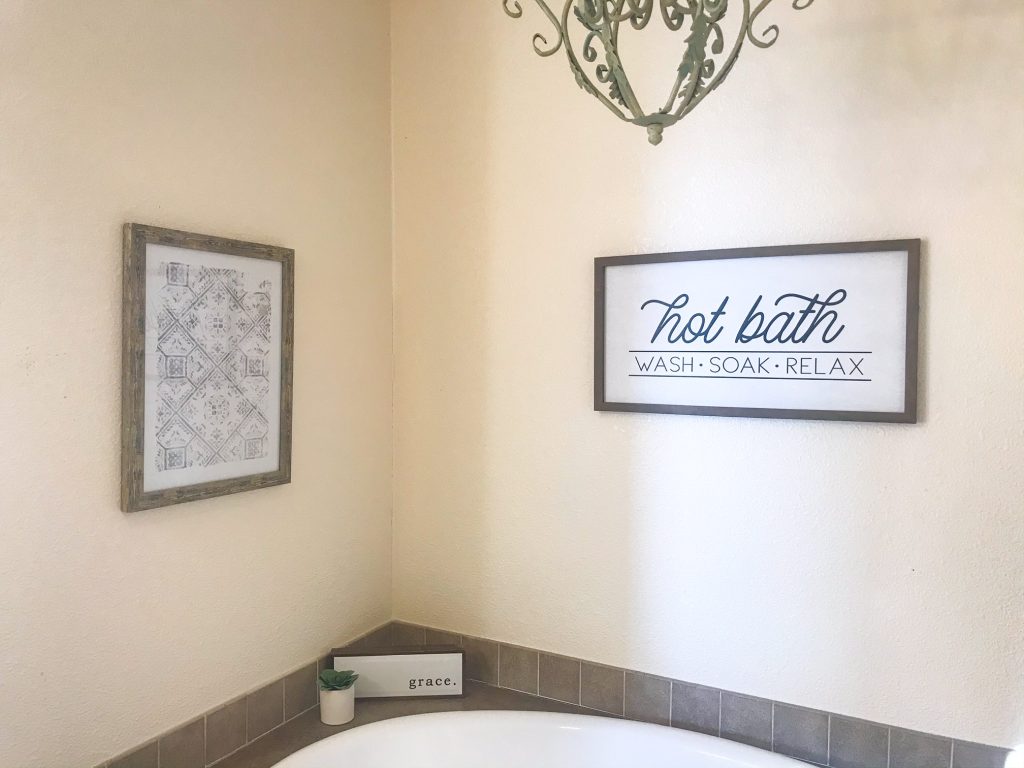
The darker frames on the wall art tie in with the cabinets and counter.
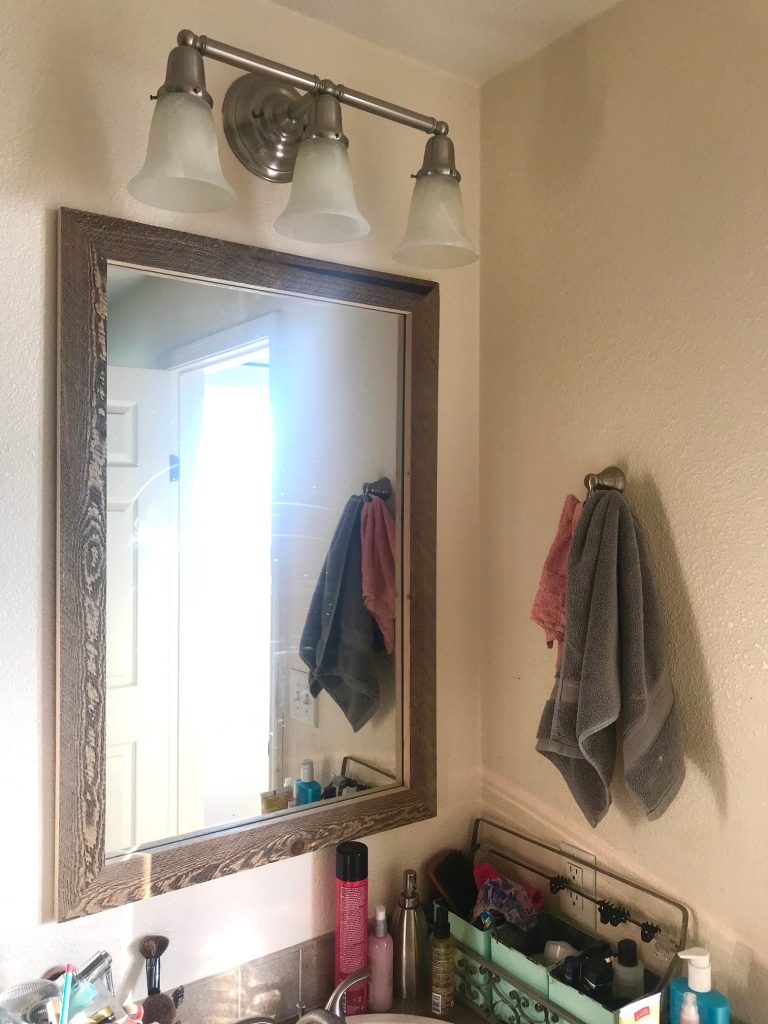
The Cowboy made Barnwood frames for the mirrors and we updated our sconces. The originals were cloudy and much larger. These streamlined ones instantly make the bathroom brighter.
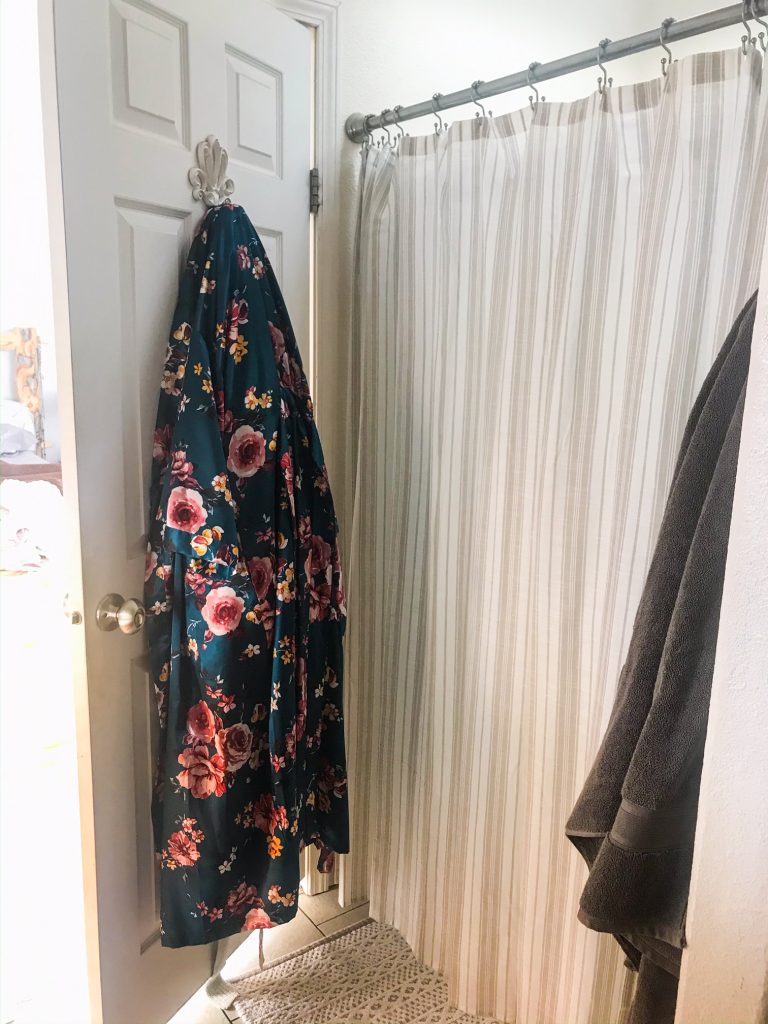
New towels in deep brown and gray complement the bedroom and the new cabinets. A neutral shower curtain covers up the glass shower doors that never get clean no matter how hard I scrub. It’s that darn well water…
All in all, we spent less than $200 making these changes.
The most expensive items were probably the towels!
The result is an updated master bathroom that feels fresh, looks great with our master bedroom and makes me smile every time I walk in.
Leave a Comment
5 thoughts on "Master Bathroom Facelift For Less Than $200"
Categories: The Prairie Homestead, This and That
Tags: , bathroom, farmhouse style, for the home, Homestead, master bath, master bath facelift, renovations
Previous Post « Prairie Wife’s Famous Chicken Pot Pie
Next Post Master Bedroom Facelift For Less Than $300 »

I really like what you did. You’ve given me some great ideas.
YEAH! Let me know if you try any of them 🙂
It looks very nice and I love you nice tub. I wish I didn’t have a cup like that in my bathroom. I look forward to seeing your bedroom makeover. Speaking of laundry in my dryer just let me know my load is done. Time to go fold. Happy Friday !
The tub was totally one of my must-haves when we moved into that house. I love that the shower is separate, it makes it way easier to take a bath whenever I want (no need to clean it first).